Taking Cuttings
Propagating your own plants is one of the most satisfying elements in gardening. Having your special plant, the one that does better than all the others and being able to replicate it by taking successful cuttings and growing a whole collection of identical plants brings a high level of enjoyment and satisfaction.
Taking cuttings from stock plants
Equally the joy of seeing seeds germinate, new life beginning, is fantastically rewarding and allows you to enjoy the genetic diversity of plants grown from seed.
We will show you the best way to successfully generate new plants by both methods.
Taking cuttings from stock plants provides you with a genetically identical copy and if grown with the same nutrients in the same environment, every plant grown from a cutting will be very similar to the stock plant from which it was taken. If you have that one plant that you really like or that delivers exceptional qualities then cloning is the best method for reproducing the plant.
The condition of the stock plant is the most important factor for successful cuttings. The stock plant should be grown in an light cycle of 18 hours on, 6 hours off with sufficient T5, MH or HPS lights. With temperatures between 18-22oC and the humidity between 50-70%.
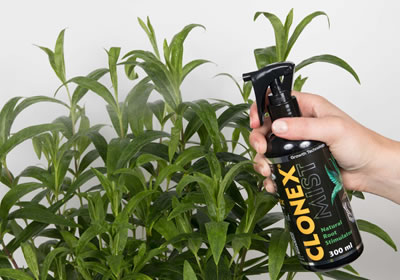
These conditions will provide your stock plant with the ideal environment in which to produce the strong growing tips needed for taking cuttings. You should feed your stock plant half strength feed the week before propagation process, as too much nitrogen produces excessive growth and soft plant tissue, which is not beneficial when taking cuttings. You should also spray the intended cutting material on the stock plant with Clonex Mist seven days before taking cuttings. This will strengthen the plant material, guaranteeing greater success.

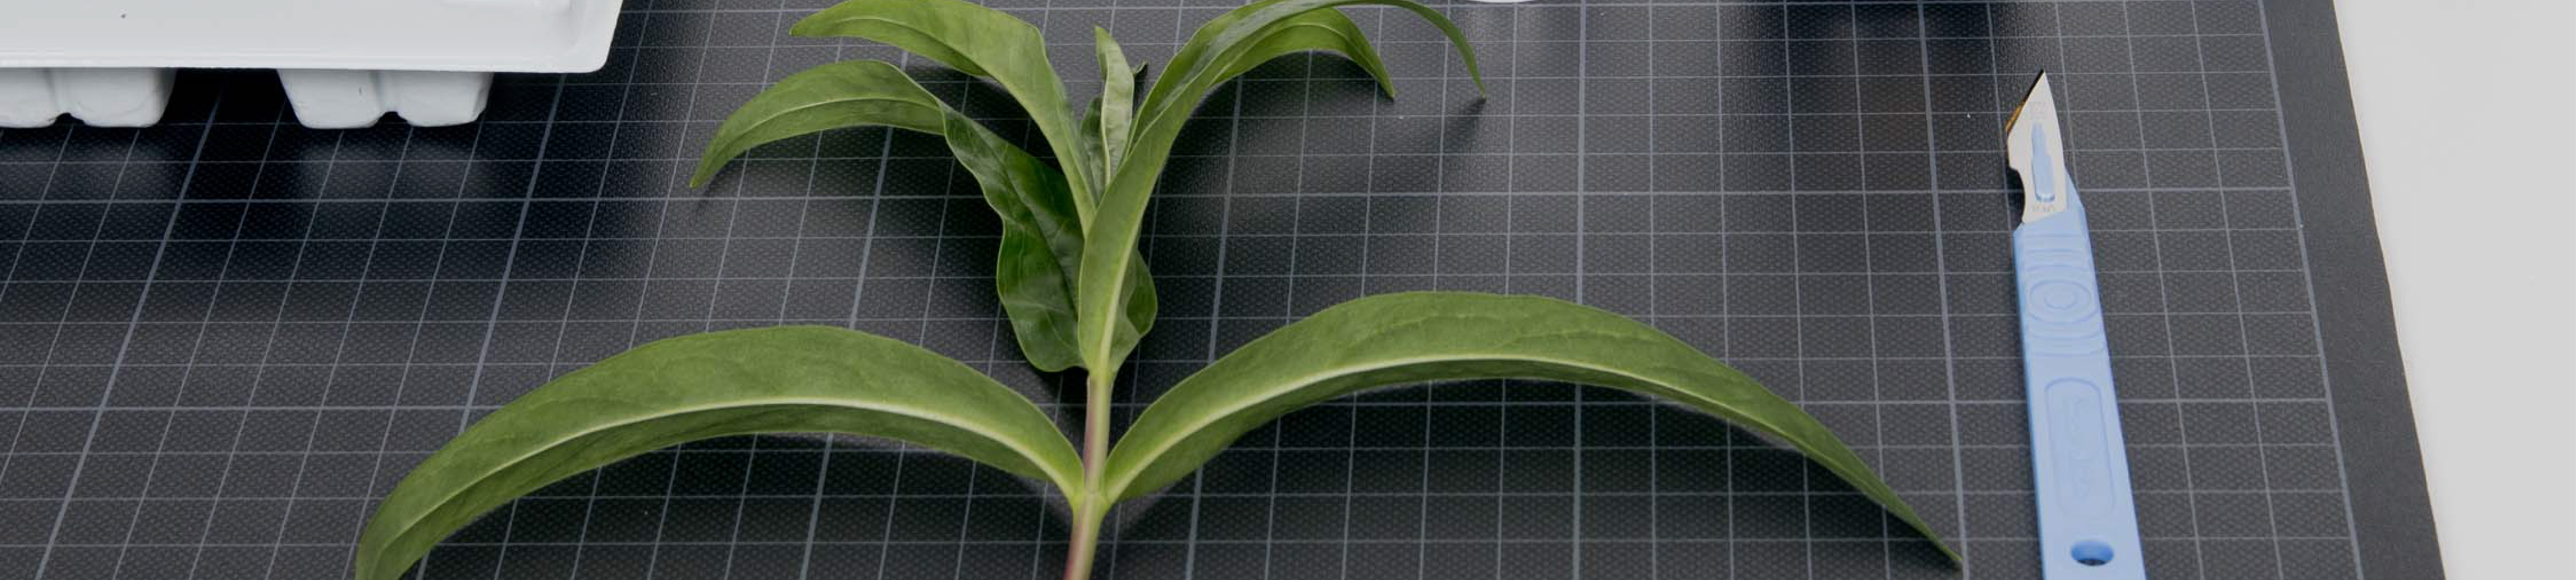
It is a good idea to have all your propagation equipment clean and ready to use before starting to take cuttings. Your propagation tool box should contain the following: a plastic cutting board, sharp scissors, scalpel, dibber, Clonex, Clonex Mist, propagator with cube tray, and last but not least, T5 fluorescent lighting.
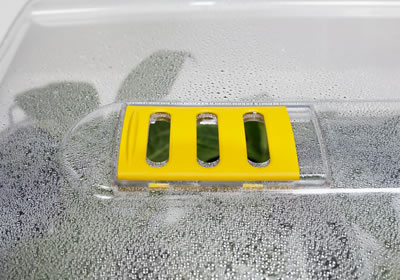
Cuttings can be taken using a number of different growing substrates including: Rockwool, Perlite, Vermiculite, grit, and soil, but we find Root Riot Cubes give us the best success rates for cloning. Root Riot Cubes are a peat-based propagation cube containing micronutrients for initial growth and they have a spongy texture, which provides the ideal air/moisture ratio needed for rapid root growth. Cuttings in Root Riot Cubes can then be transferred into any growing method, such as soil, coco, hydroponics, but depending on the method, Rockwool may be more suitable for some aeroponic systems.
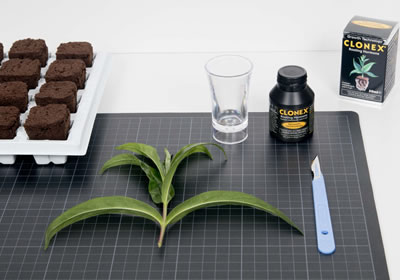
Your propagation cubes will perform better by soaking before you take your cuttings. We would suggest drenching the cube with 1 ml per litre of Clonex Pro Start Clonex Pro Start which will stimulate root growth. Pre-soak the Root Riot cubes for a minimum of 2 hours and a maximum of 24 hours.
If you have access to a pH meter/test kit, it would be a good idea to get the pH of the soak/feed solution between 5.5-5.8, so that when the roots emerge, they are exposed to moisture in the correct pH range. This allows the nutrients to be taken up at the right concentration to produce healthy growth.
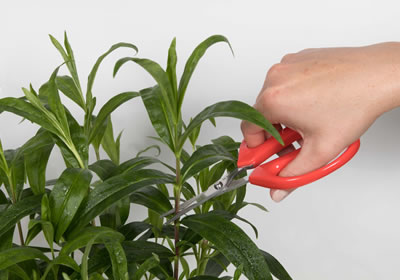
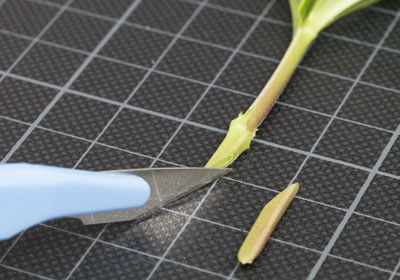
You should take your cuttings from the strongest and healthiest growing tips on the stock plant. Start by cutting off a shoot tip with 4-5 sets of leaves. This allows you to insert 2 nodes (removed sets of leaves) inside the propagation cube, and 2 nodes (attached leaves) above the cube (a plant node is the area from which leaves grow). Put the plant material on the cutting board and remove the bottom 2 pairs of leaves and then make a diagonal cut just below the point where you removed the lowest pairs of leaves.
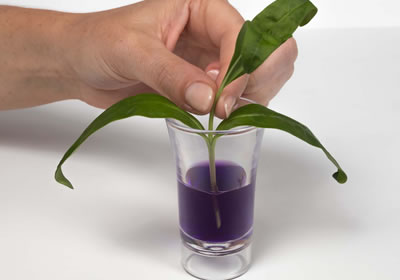
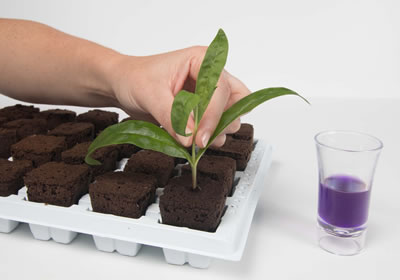
Next, immediately dip the cutting into the Clonex gel to cover the fresh cuts, which seals the cutting and provides the essential hormones needed to produce strong and healthy roots. Let the cutting sit in the Clonex gel for a minute whilst preparing the Root Riot cube. Use the dibber to enlarge the hole in the Root Riot cube to accept the cutting, and once this is done insert the cutting into the cube and place in the propagator.
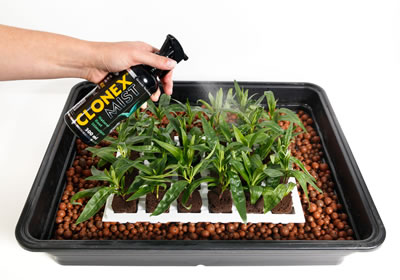

Once your cuttings have been taken, give them a spray with Clonex Mist before attaching the humidity dome. This increases the moisture level around the leaves and provides nutrition and stimulant that will produce faster and stronger root production.
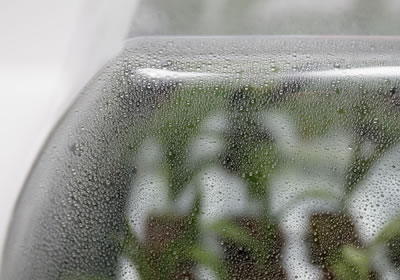
The key to successful propagation is keeping your cuttings in the ideal environment. Start by putting a small layer of clay pebbles in the bottom of the propagator and cover them with just enough water so that the cube tray sits on top of them without allowing the cubes to touch the water. With the vents closed on the humidity dome, this will create the optimal humidity level in the propagator and the moisture below will help drive the roots out of the cubes towards this needed moisture.
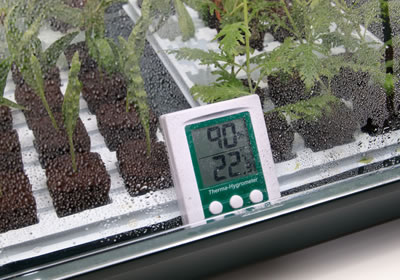
The ideal conditions inside the propagator are temperatures between 21-24oC and humidity between 80-90%. These conditions should be maintained throughout the propagation process. The lighting for your propagator should be the LightWave LW24 which consists of 4 by 2 foot lamps and delivers 6600 lumens, covering about 60 by 60 cm, which is more than enough for a large propagator. The light cycle for the propagation should be 18 hours on and 6 hours off, which will provide the best conditions for the new cuttings.
Basil cuttings usually take between 5-10 days to root properly through the cubes, then to be hardened off and ready to be potted up for their next growth stage. After the cuttings have been in the propagator for 2-3 days, spray them again with Clonex Mist and open the vents. Doing this will provide nutrients and stimulants that helps produce faster and stronger roots. Then open vents which will allow more respiration for the cuttings and this will also aid in quicker and stronger growth.
After about 5 days the cubes and cuttings will need to be moistened and maintained at a consistent level. Use the same solution to moisten the cuttings/cubes as you used for soaking the cubes prior to taking your cuttings. Again use half strength Formulex (EC 1.0) and GreenFuse Root at 1ml/L to feed and maintain your cuttings prior to potting up.
Once the cuttings have been in the propagator for about 10 days, they have usually rooted properly and the humidity dome can be removed so that the cutting can harden off (get used to the outside environment). They are then ready to be potted up for their further growth stages. This is a tried and tested method that works well and if you follow these simple steps, you will soon enjoy the satisfaction of producing cuttings from your favourite plants.
Check out our product range here
Want to get in touch? You can email us: enquiries@growthtechnology.com
Your login details have been used by another user or machine. Login details can only be used once at any one time so you have therefore automatically been logged out. Please contact your sites administrator if you believe this other user or machine has unauthorised access.